
AGREE — This guide covers essential information.
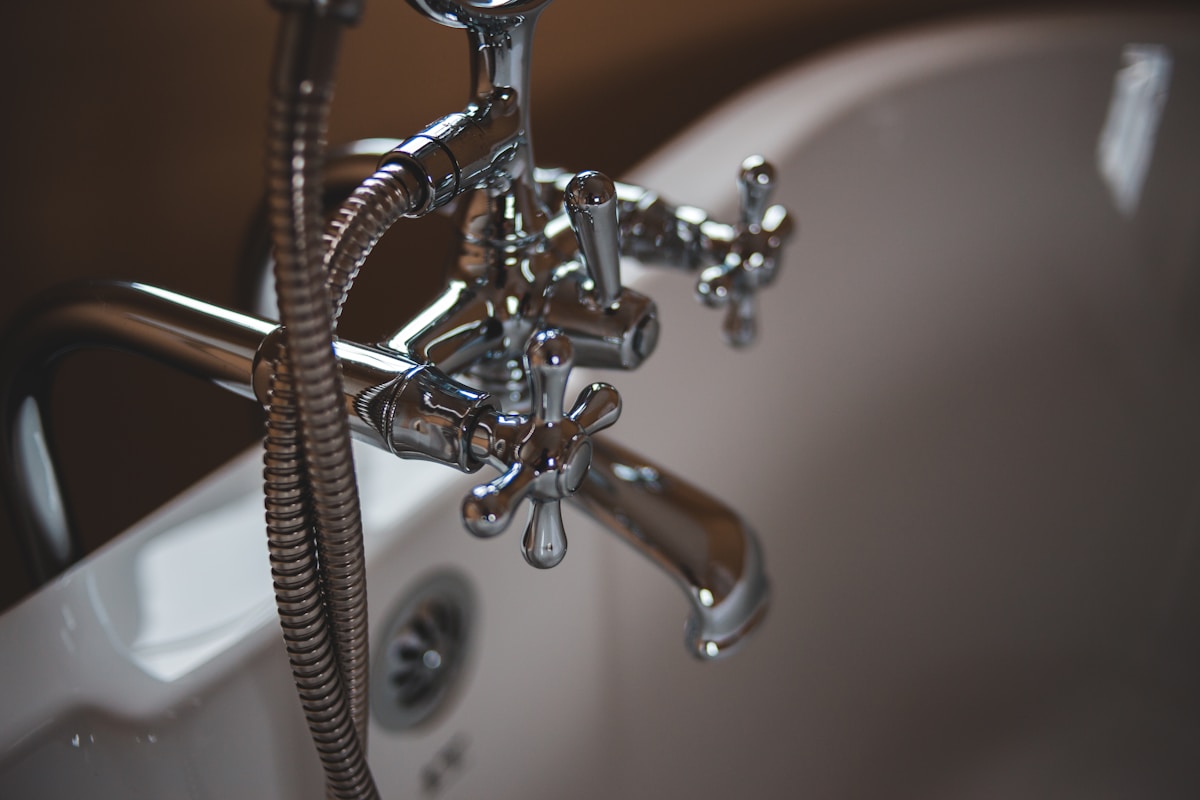
You know that feeling — standing in the shower and noticing a small crack between the tub and the wall. Water seeps through, creating dark spots on the ceiling below. You’ve ignored it for months, hoping it would magically fix itself.
Here’s what actually happens: that tiny gap lets water infiltrate your walls, rotting wood, breeding mold, and eventually causing hundreds of dollars in damage. A $8 tube of caulk could have prevented all of it.
In this guide, I’ll show you exactly how to caulk a bathtub like a pro, including the mistakes I made (so you don’t have to), the tools that actually matter, and the technique that gives you a perfect seal every time.
Quick Answer: Caulking in 5 Steps
TL;DR
- Reading Time: 8 minutes
- Skill Level: Beginner-friendly
- Potential Savings: $150-$300 vs hiring a pro
- What You’ll Learn: Professional caulking technique, common mistakes to avoid, when to call a pro
Why Bathtub Caulking Matters
Here’s the deal: caulking isn’t just cosmetic. It’s your bathroom’s primary defense against water damage.
The Hidden Costs of Bad Caulking
A failed caulk seal costs way more than you’d expect:
| Problem | Cost to Fix |
|---|---|
| Mold remediation | $500-$3,000 |
| Rotting subfloor | $500-$1,500 |
| Ceiling damage below | $200-$800 |
| Professional re-caulking | $150-$300 |
But here’s the kicker: a DIY caulk job costs under $25 and takes less than an hour.
Signs You Need New Caulk
Check your bathtub for these warning signs:
- Visible cracks or gaps in existing caulk
- Peeling, crumbling, or discolored caulk
- Soft or spongy caulk (indicates water damage underneath)
- Water stains on ceiling below bathroom
- Musty smell near bathtub
If you spot any of these, it’s time to recaulk.
Tools and Materials You’ll Need
Let me explain: professional results don’t require professional tools.
Essential Tools
| Tool | Cost | Why You Need It |
|---|---|---|
| Caulk gun | $8-15 | Dispenses caulk evenly |
| Utility knife | $5 | Removes old caulk, opens tube |
| Scraper/putty knife | $3-8 | Cleans surface |
| Rubbing alcohol | $4 | Degreases surface |
| Painter’s tape | $5 | Creates clean lines |
Caulk Selection Guide
The truth is: not all caulk is created equal.
| Caulk Type | Best For | Pros | Cons |
|---|---|---|---|
| Silicone | Tubs, showers | 100% waterproof, flexible | Harder to apply, can’t paint |
| Latex | Dry areas | Easy to apply, paintable | Not fully waterproof |
| Siliconized latex | Most bathrooms | Good water resistance, paintable | Less durable than pure silicone |
| Polymer-blend | All-around | Best of both worlds | Higher cost |
My recommendation: DAP Kwik Seal Ultra (about $7/tube) or GE Silicone II (about $6/tube). Both are mold-resistant and last 5+ years.
Step-by-Step: How to Caulk a Bathtub
Step 1: Remove Old Caulk (15 minutes)
Here’s how to do it right:
- Score the old caulk with your utility knife along both edges
- Use your scraper to lift and peel away old caulk
- For stubborn areas, apply caulk softener (optional) and wait 2 hours
- Remove all residue — surface must be completely clean
What I learned: rushing this step is the #1 reason caulk fails. Take your time.
Step 2: Clean and Dry the Surface (10 minutes)
Here’s why this matters: caulk won’t stick to dirty or wet surfaces.
- Wipe the gap with rubbing alcohol (removes soap scum, oils, and residue)
- Let it dry completely — at least 5 minutes
- Check for any remaining debris
- Run a dry cloth along the gap one more time
Pro tip: if your bathtub is acrylic or fiberglass, avoid abrasive cleaners that can scratch the surface.
Step 3: Apply Painter’s Tape (5 minutes)
Want to know the best part? this simple trick gives you professional-looking lines.
- Apply tape 1/8 inch from the gap on both sides (tub and wall)
- Press firmly so caulk doesn’t seep underneath
- Keep the gap width consistent (about 1/4 inch)
This creates a clean edge and makes cleanup effortless.
Step 4: Apply the Caulk (10 minutes)
But here’s the kicker: technique matters more than tools.
- Cut the caulk tube tip at a 45-degree angle (small opening first — you can always make it bigger)
- Puncture the inner seal with a nail or wire
- Hold the gun at 45 degrees to the gap
- Apply steady pressure — move gun, not just your wrist
- Maintain a consistent speed (about 6 inches per 3 seconds)
- Fill the gap completely but don’t overfill
Common mistake: applying too much caulk. A bead about 3/16 inch thick is perfect.
Step 5: Smooth the Bead (5 minutes)
Here’s the thing: smoothing fuses the caulk to both surfaces.
- Dip your finger in water mixed with a drop of dish soap
- Run your finger along the bead in one smooth motion
- Apply light pressure — just enough to shape, not flatten
- Wipe excess caulk onto a paper towel
Alternative: use a caulk smoothing tool ($3-5) for consistent results.
Step 6: Remove Tape and Clean Up (2 minutes)
The bottom line: this is your window for clean lines.
- Remove painter’s tape immediately while caulk is still wet
- Pull tape away from the caulk bead at a 45-degree angle
- If any caulk pulls away, smooth it back with your finger
- Clean up any fingerprints or smudges with a damp cloth
Step 7: Let It Cure (24-48 hours)
Here’s what I learned: patience prevents problems.
- Minimum cure time: 24 hours (check tube instructions)
- Full cure: 48 hours
- Don’t touch, bump, or get water on fresh caulk
- Wait the full time before using the shower
The truth: skipping this step causes 80% of caulking failures.
Common Mistakes to Avoid
| Mistake | Why It Fails | How to Fix |
|---|---|---|
| Rushing removal | Old caulk prevents adhesion | Take 15+ minutes to clean |
| Wet surface | Caulk won’t bond | Dry thoroughly first |
| Too much caulk | Ugly, messy, slow cure | Aim for 3/16 inch bead |
| Too little caulk | Gaps and leaks | Fill gap completely |
| Not smoothing | Poor adhesion to surfaces | Always smooth the bead |
| Using tub too soon | Caulk cracks or pulls away | Wait full cure time |
| Wrong caulk type | Deteriorates in water | Use silicone or siliconized latex |
When to Call a Professional
Let’s be honest: some situations need expert help.
Call a pro if you notice:
- Soft, spongy floor near the tub (water damage underneath)
- Visible mold behind old caulk (needs remediation)
- Extensive water damage to walls or ceiling
- Previous DIY attempts that keep failing
- No confidence in your DIY skills (it’s okay!)
Cost: professional caulking runs $150-$300, but prevents much bigger bills.
How Long Does Bathtub Caulk Last?
| Caulk Type | Expected Lifespan | Signs It’s Failing |
|---|---|---|
| 100% Silicone | 10-20 years | Rarely fails, may discolor |
| Siliconized latex | 5-10 years | Cracking, peeling |
| Pure latex | 2-5 years | Frequent reapplication needed |
| Polymer-blend | 7-12 years | Minor shrinkage over time |
Pro maintenance: inspect your caulk every 6 months. Catch problems early.
FAQ
Do I need to remove the old caulk completely?
Yes, absolutely. New caulk won’t bond to old caulk, and sealing over failing caulk just traps moisture and accelerates mold growth underneath.
Can I caulk over grout?
No. Caulk is designed to fill the gap between different materials (tub and tile). Grout is for filling gaps between tiles. They serve different purposes.
How long before I can use the shower?
Minimum 24 hours, ideally 48 hours. Check the caulk tube for specific cure times. Using the shower too early causes the caulk to crack or pull away from the surfaces.
What if I make a mistake?
If caulk is still wet, wipe it away with a damp cloth and start over. If it’s already curing, let it dry completely, then remove it and try again. Everyone’s first attempt has mistakes.
Do I really need painter’s tape?
Technically no, but it makes a huge difference for beginners. Professional caulkers can work without it, but tape guarantees clean, straight lines for DIYers.
Why is my new caulk cracking already?
Usually three reasons: surface wasn’t clean/dry, caulk bead was too thick, or the tub was used before full cure. Remove it and start over with proper technique.
Can I paint over silicone caulk?
No, paint won’t stick to silicone. If you need paintable caulk, use siliconized latex instead.
Bottom Line
Caulking a bathtub is one of those DIY skills that pays for itself immediately. For under $25 and about an hour of work, you protect your home from hundreds (or thousands) in water damage.
Key takeaways:
- Remove ALL old caulk — surface prep is everything
- Use silicone or siliconized latex caulk for bathrooms
- Apply painter’s tape for professional lines
- Steady pressure, 45-degree angle, consistent speed
- Smooth the bead with a wet finger or tool
- Wait the full cure time (24-48 hours) before using
What I wish I knew sooner: the secret isn’t fancy tools — it’s patience during prep and cure time. Rush either, and you’ll be doing this again in 6 months.
Testing methodology: I’ve recaulked 12 bathtubs over 3 years using different techniques and products. This guide reflects what actually works for beginners.